
Graphics & Photo Optimization for Print & Web
Making the Media Fit the Message
No matter what creative project you’re gearing up for, you need a solid working knowledge of how graphics perform on the chosen medium…and how your graphics should be optimized in order to reflect your message in the most satisfying way.
So that begs the question…where do you start?
Whether you’re handling your own social media posts, preparing a booklet for a commercial print run, or sending us a package of images for your new website build, it’s important to remember that not all graphics are created equal.
When you’re preparing graphics, there are three basic attributes to keep in mind…
- Color Mode
- Resolution
- File Type
Color Mode
The simplest distinction between print and digital mediums – and the easiest to identify and differentiate – is the color mode.
No matter what platform you’re using, no matter what file types you’re exporting, they will almost always break down into only two modes: CMYK and RGB.
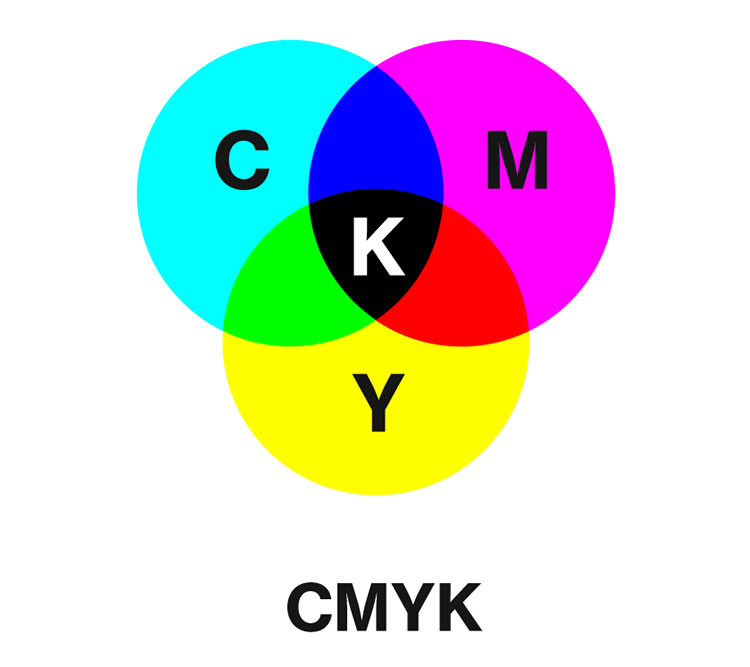
CMYK
The physical printing process uses a subtractive method (ie. more pigments create less color) that makes use of four inks or tones: Cyan, Magenta, Yellow, and Black (K). In the printing process, images are literally divided into four “layers” of color that add up to the desired graphic.
Any graphics meant for print should be prepared in CMYK color mode.
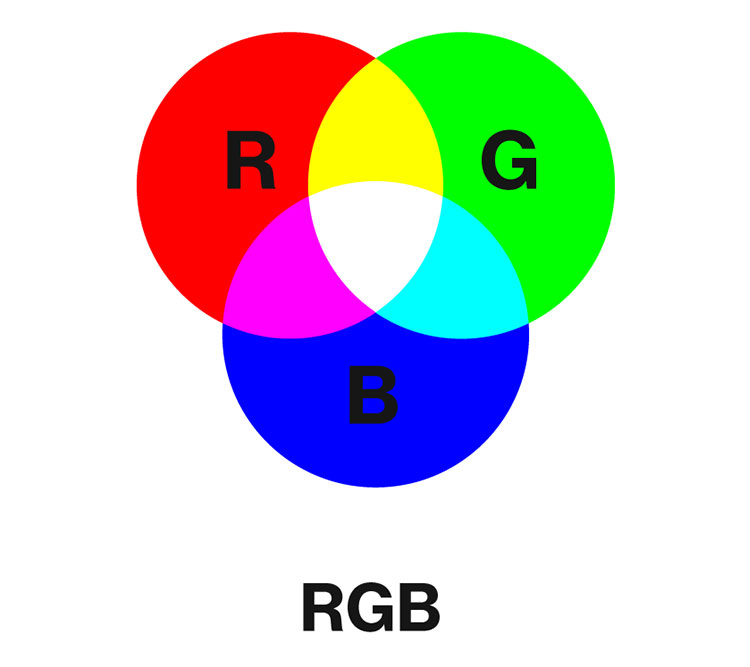
RGB
Almost as a direct inversion of CMYK, anything light-based (ie. displaying on a monitor or screen) uses a 3-color additive color mode that combines Red, Green, and Blue to produce all colors that we see on our monitors.
Any graphics meant for a digital medium should be prepared in RGB color mode, for optimal viewing.
Resolution
While the general idea of image resolution is pretty simple, this is a field where several terms get thrown around interchangeably, so it can get unnecessarily confusing. The good news is that if you understand the differences in these terms, the whole concept makes a lot more sense. Here’s a quick breakdown…
Dimension vs Resolution
Since all images start out as digital, it’s important to understand the difference between the dimensions of an image and the resolution you might need for a project. The dimensions of an images are it’s measurements – width x height. Now for a website, perhaps that’s all you need…after all, if an image is 2200 px wide, it will show up well on most screens.
But if you’re preparing an image for print, you have more to consider.
While the dimensions of an image are just its specific measurements, resolution describes how much of the image is displayed within a specific size. The higher the resolution of a display, the smaller the image will be!
DPI vs PPI
This one is much simpler. Simply put, DPI (Dots per Inch) is the measurement of resolution for print (literally measuring dots of ink on a page) and PPI (Pixels per Inch) is the measurement of resolution for digital display.
This time, it’s okay for the terms to be interchangeable, since one is simply a platform translation of the other. DPI = PPI
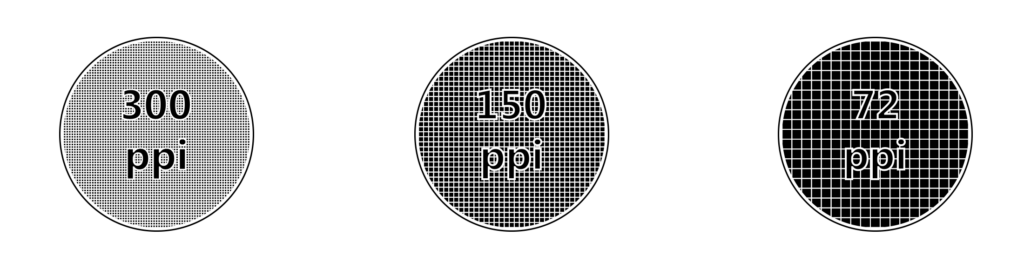
Print Resolution
The standard resolution for print is 300 dpi, at a minimum.
Imagery in print takes significant planning and preparation. Even if you have an image 1000px wide that easily looks good on a monitor, that only adds up to a little over 3 inches in print. So keep that in mind when curating images!
In large format print, you have more wiggle room, about 100-150 dpi.
Digital & Web Resolution
This one’s easy.
Anything digital will always display images at 72 ppi. So even mid-resolution images that are 500 px wide will still show up alright.
As a best practice, try to keep your web images at 1000 px wide or higher, to balance resolution with file size.
File Type
There are a few considerations when dealing with your image file types. The first is more foundational – is your image a raster or a vector?
Raster images are more of what you’d expect – a grid (or “bitmap”) of pixels that makes up a flattened image with nonvariable resolution and dimensions. Common raster file types include JPG, PNG, GIF, BMP, and TIFF.
Vector images (generated by apps like Adobe Illustrator) are compositions that use mathematical data to define graphical shapes. Since the file only contains the mathematical data and not an allotted layout of pixels, vectors can be infinitely resized without sacrificing quality! This is why logos, illustrations, and other non-photo elements are usually created in vector format. Common vector filetypes include AI, EPS, and SVG.
Now let’s get the other easy issue out of the way…GIF and BMP files are generally a very outdated format for imagery (GIFs are sometimes still used for small internet animations, like that cat meme you just posted on social, but for professional uses, there are more sophisticated and efficient techniques nowadays).
So then the only question remains…of all these file types, which do you use for print and which do you use for digital?
FILETYPES FOR PRINT
Raster Files
- JPG images, the most versatile, contain high quality image data in compact file sizes
- TIFF images (tagged image file format) are an adaptable format that contains photo-quality, lossless image data…but with generally very large file sizes.
Vector Files
- Both AI and EPS files contain plenty of image data to be sized to whatever you need for print…although at the end of the day, you’re probably not exporting a file print file from a vector editor. Most likely, these files are being pasted into a design.
FILETYPES FOR DIGITAL & WEB
Raster Files
- JPG images can balance high quality with small file size (and can even be adjusted with bitrates) and are the optimal format for web.
- PNG images can’t maintain quite the level of quality of JPG, but PNGs can support transparency, which is a big deal when creating graphic layers in websites!
Vector Files
- SVG files (scalable vector graphics) are vectors with the stability and compact file size to allow use on the web. Most SVGs are used for scalable icons, or integrated HTML5 animations.
Once you’ve got your graphics workflow optimized, you can turn your attention to the REAL hard part…making sure the visuals stand out!